Allotment Composting: More limited range of materials
I have been asked to include a separate page on composting on allotments as although the techniques are the same as I have already given on other pages there are some key differences in part because the kitchen waste, which plays a major part in home composting, will not be available to the allotment composter.
Compostable materials on the allotment
In many gardens at home grass cuttings will form a major part of the summer nitrogen rich "Green" material with shredded paper or torn up brown cardboard providing ‘Browns’ to the mix and helping to aerate the mixture by keeping the compost open and providing air spaces providing suitable conditions for the aerobic composting microorganisms. Compost C: N Ratio
While the right balance of Greens and Browns is important on allotment plots there will be a limited range available. Unlike composting at home there will not be vegetable peelings and other kitchen waste. A smaller amount of grass will normally be available as few allotments have a lawn, the only source of grass for most plot holders being the paths bordering the plot. Peelings from the kitchen. However, “Greens” will be available in the form of soft young weeds (before they have seeded) and these rot quickly. The composter having hoed the weeds will not leave them on the ground but should collect them to take advantage of their value to the compost heap as Greens. need to be collected.
Do not put perennial weeds such as buttercup, bindweed or ground elder directly onto the heap as they will survive the composting process unless you are using a “Hot Heap”. They can be put in a plastic sack with some grass mowing if available) and left to dry until the weeds are no longer recognisable this may take a several months they can then be added to the compost heap. Some weeds can be killed by drowning in a bucket of water for a month or two.
Dried out perennial weeds, twigs and chipped wood (if a chipper or shredder is available) are good natural Browns in place of the cardboard that might be used at home.
As mentioned elsewhere but don’t worry about balancing and getting the right ratio any imbalance that effects the production of the compost cam be rectified. If the composting material is too dry add greens such as comfrey and if it is too wet mix in more Browns
Allotment Browns include items such as. Brassica stalks, which are slow to decompose and are best chopped or crushed. Old straw or hay from animal bedding or from around the strawberries is valuable to in providing the correct green brown balance and retaining moisture. Tough hedge clippings and woody prunings will be very slow to compost. If the plot is positioned so that it is covered in autumn leaves these are very slow to rot and are best treated separately to make leaf mould, but some should be saved in a dry place as a reserve of Browns to be added if needed.
Comfrey leaves make good “activators” and I would recommend setting aside a small part of the plot for growing this useful plant. Nettles are also very effective and while I would not recommend growing them on the plot (it might present problems during plot inspections) there may well be some available in the hedges and uncultivated areas, waste ground on the site. See the section on Liquid Feed.
If poultry or rabbits are kept, the manure makes a good activator. Some of the horse or cattle manure delivered to manure the site can be kept back to add to the compost bin bulk up other ingredients.
Items that are a little slower to decompose include windfall fruit, the leaves/tops from vegetables. (Remove the carrot, parsnip tops etc to compost on the allotment rather than carry them home to trim later), old flowers or bedding plants, soft prunings, perennial weeds (if drowned or dried first) and of course tea bags if you can find the time to relax. Please note that not all tea bags will compost. Chop up tough items using shears or a sharp spade. The smaller you make them the quicker they will compost. They can also be crushed by hitting with the spade or a hammer and I would recommend this technique for pumpkins.
Allotment compost bins or heaps?
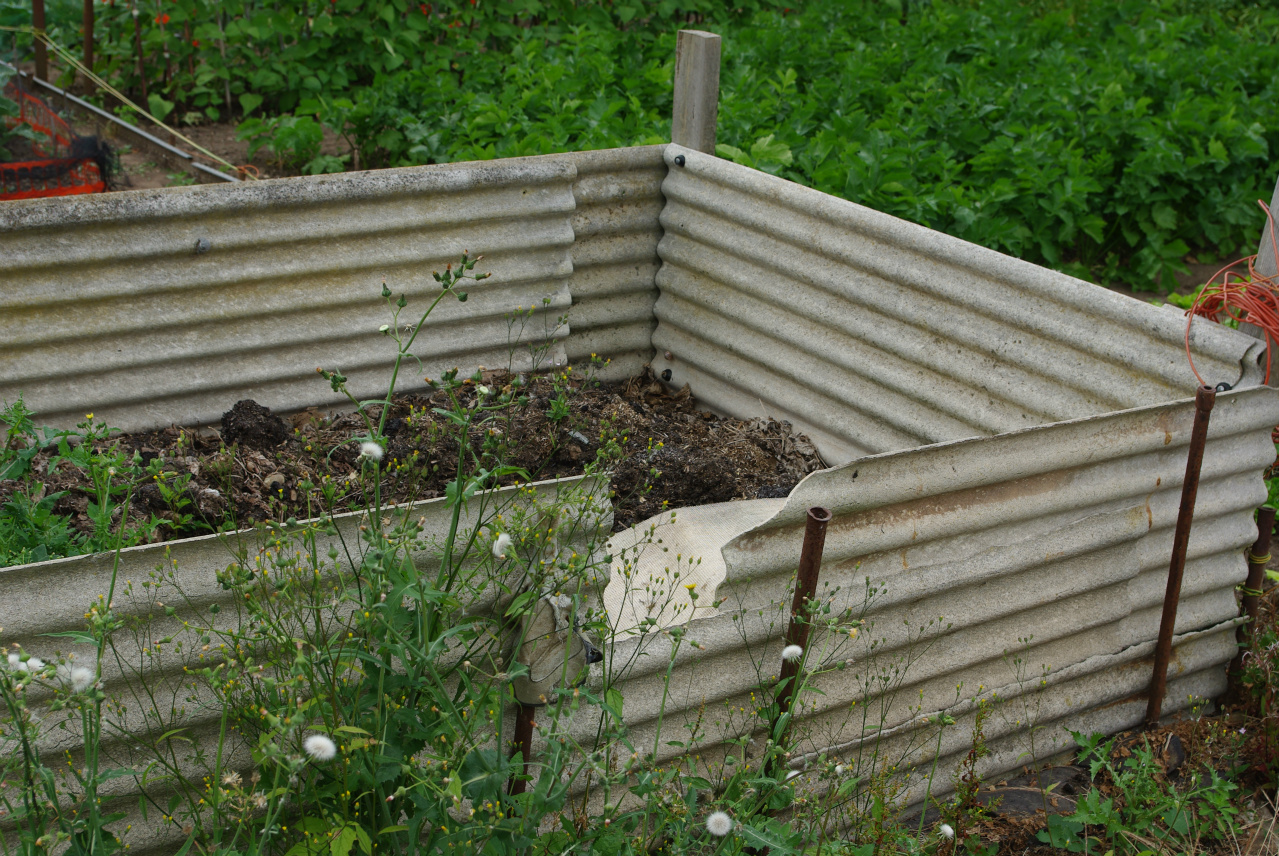
They say Compost Just Happens (and you can buy the teeshirts) all organic waste will decompose eventually but it may smell, ooze lechate or take a long time. A compost pile will work but it will look untidy and possibly attract vermin.
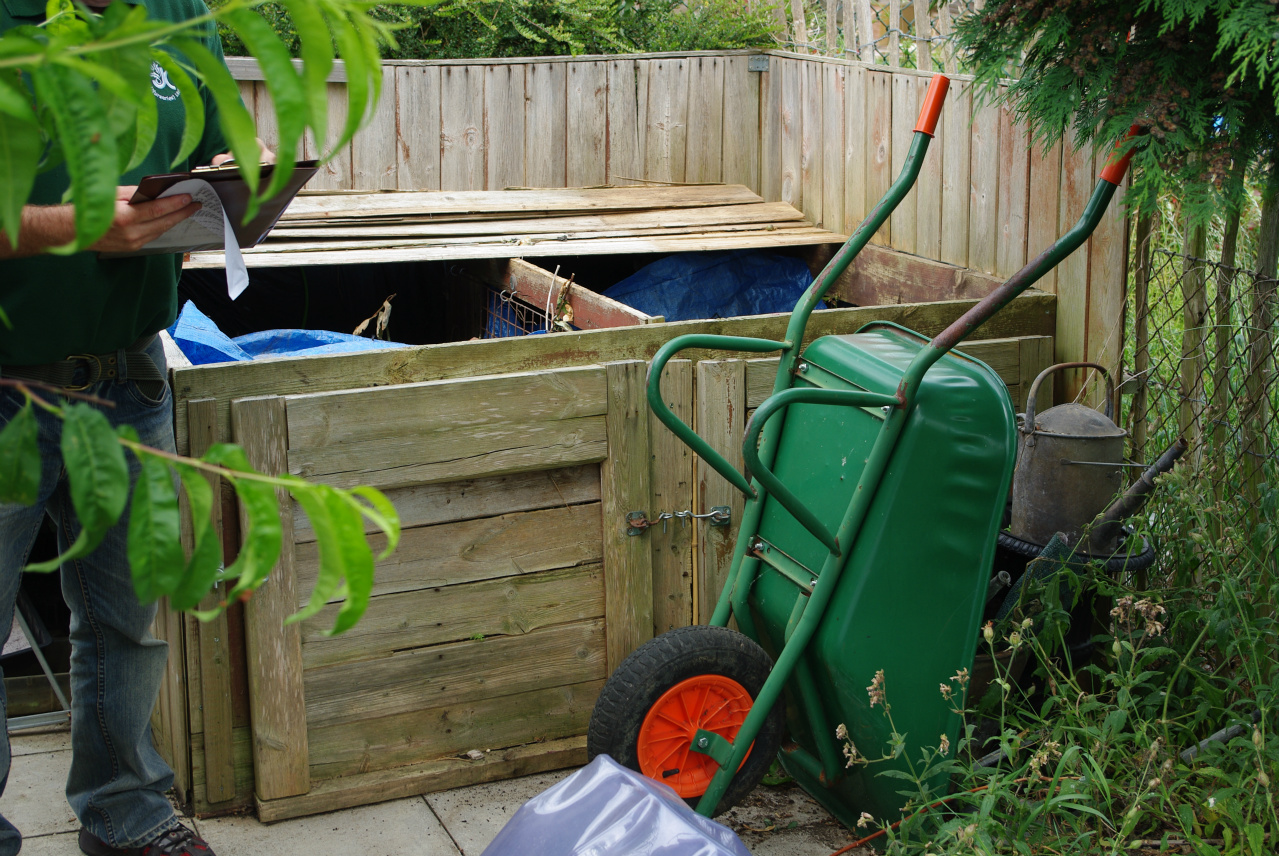
A bin looks tidier, can be more easily managed if cold composting. However, while plastic Dalek” bins are commonly used on allotments Plastic Compost Bins, and may be adequate for a starter or quarter plot, they cannot really deal with the quantity of material produced on a full size plot.
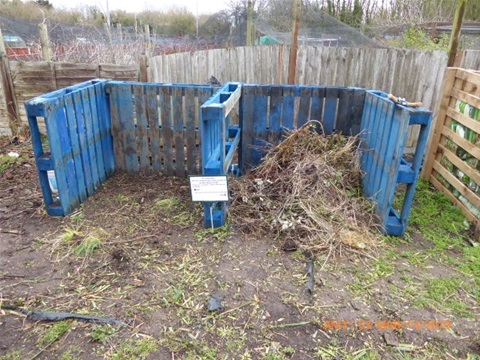
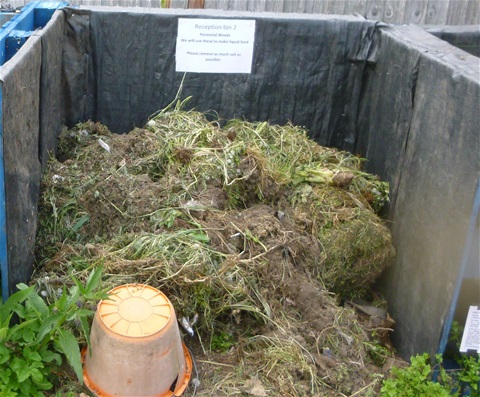
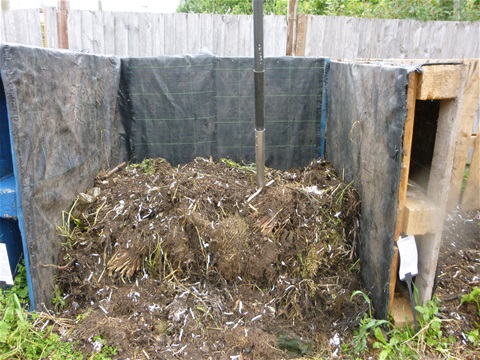
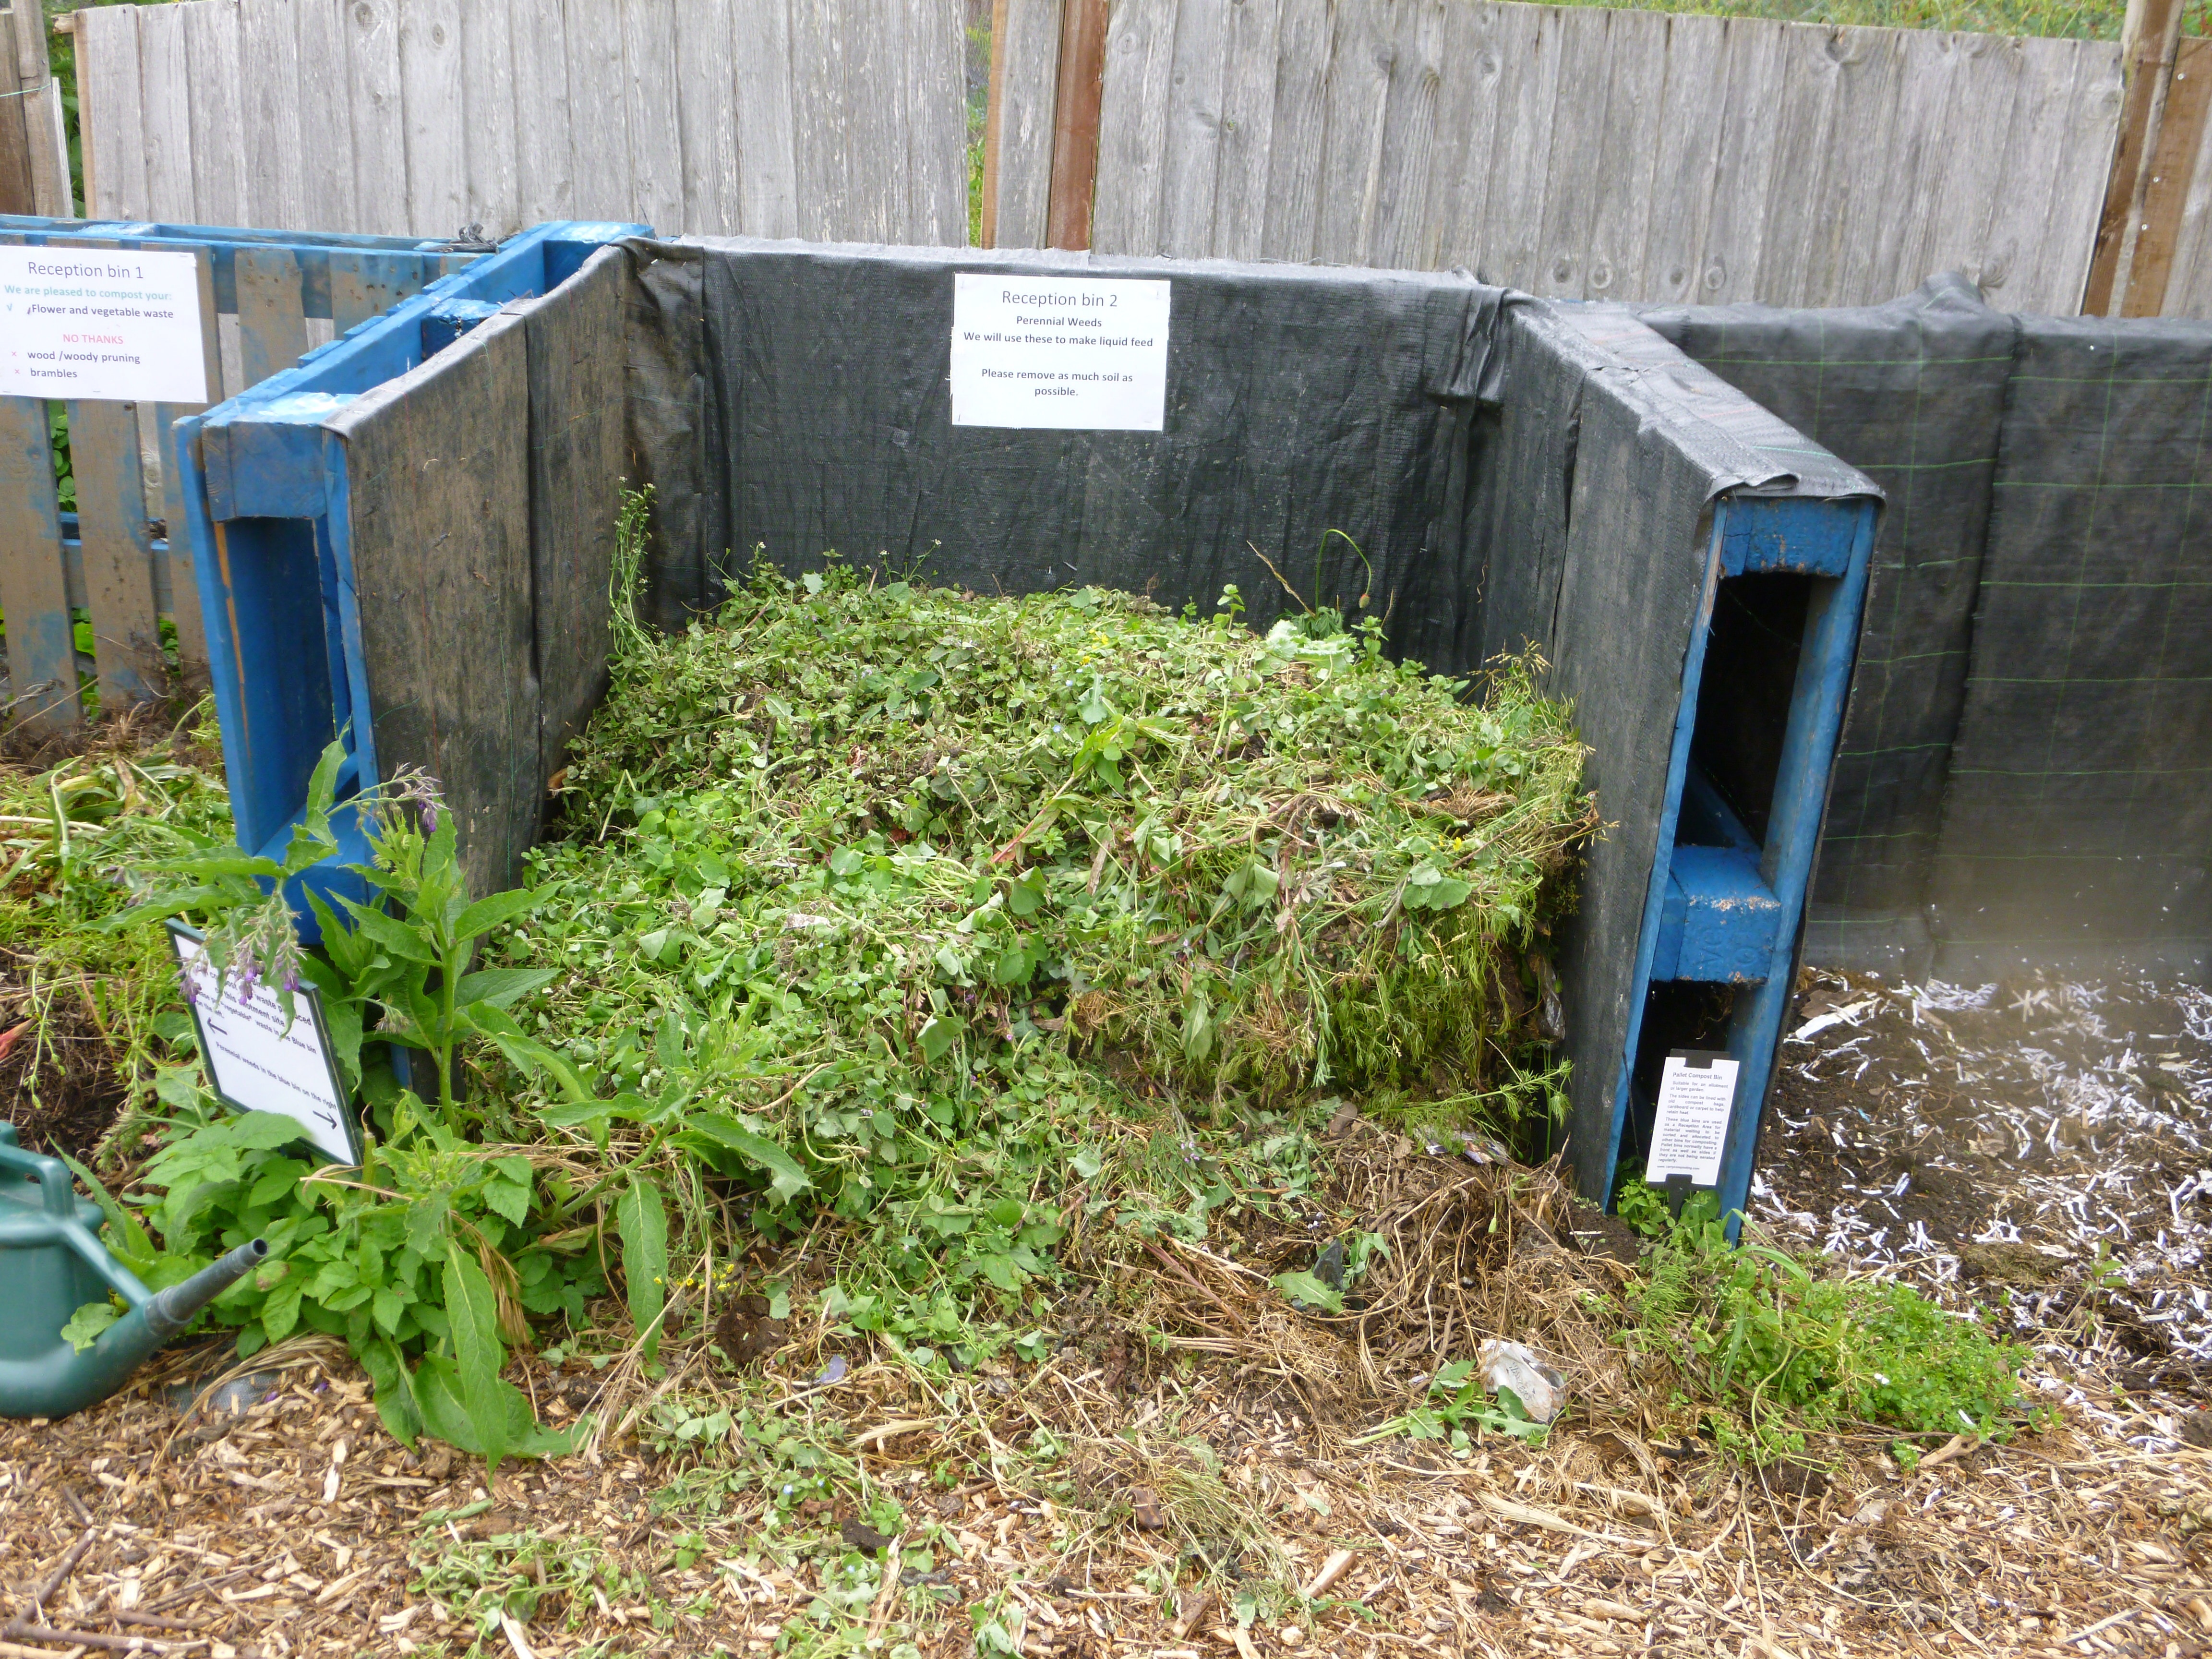
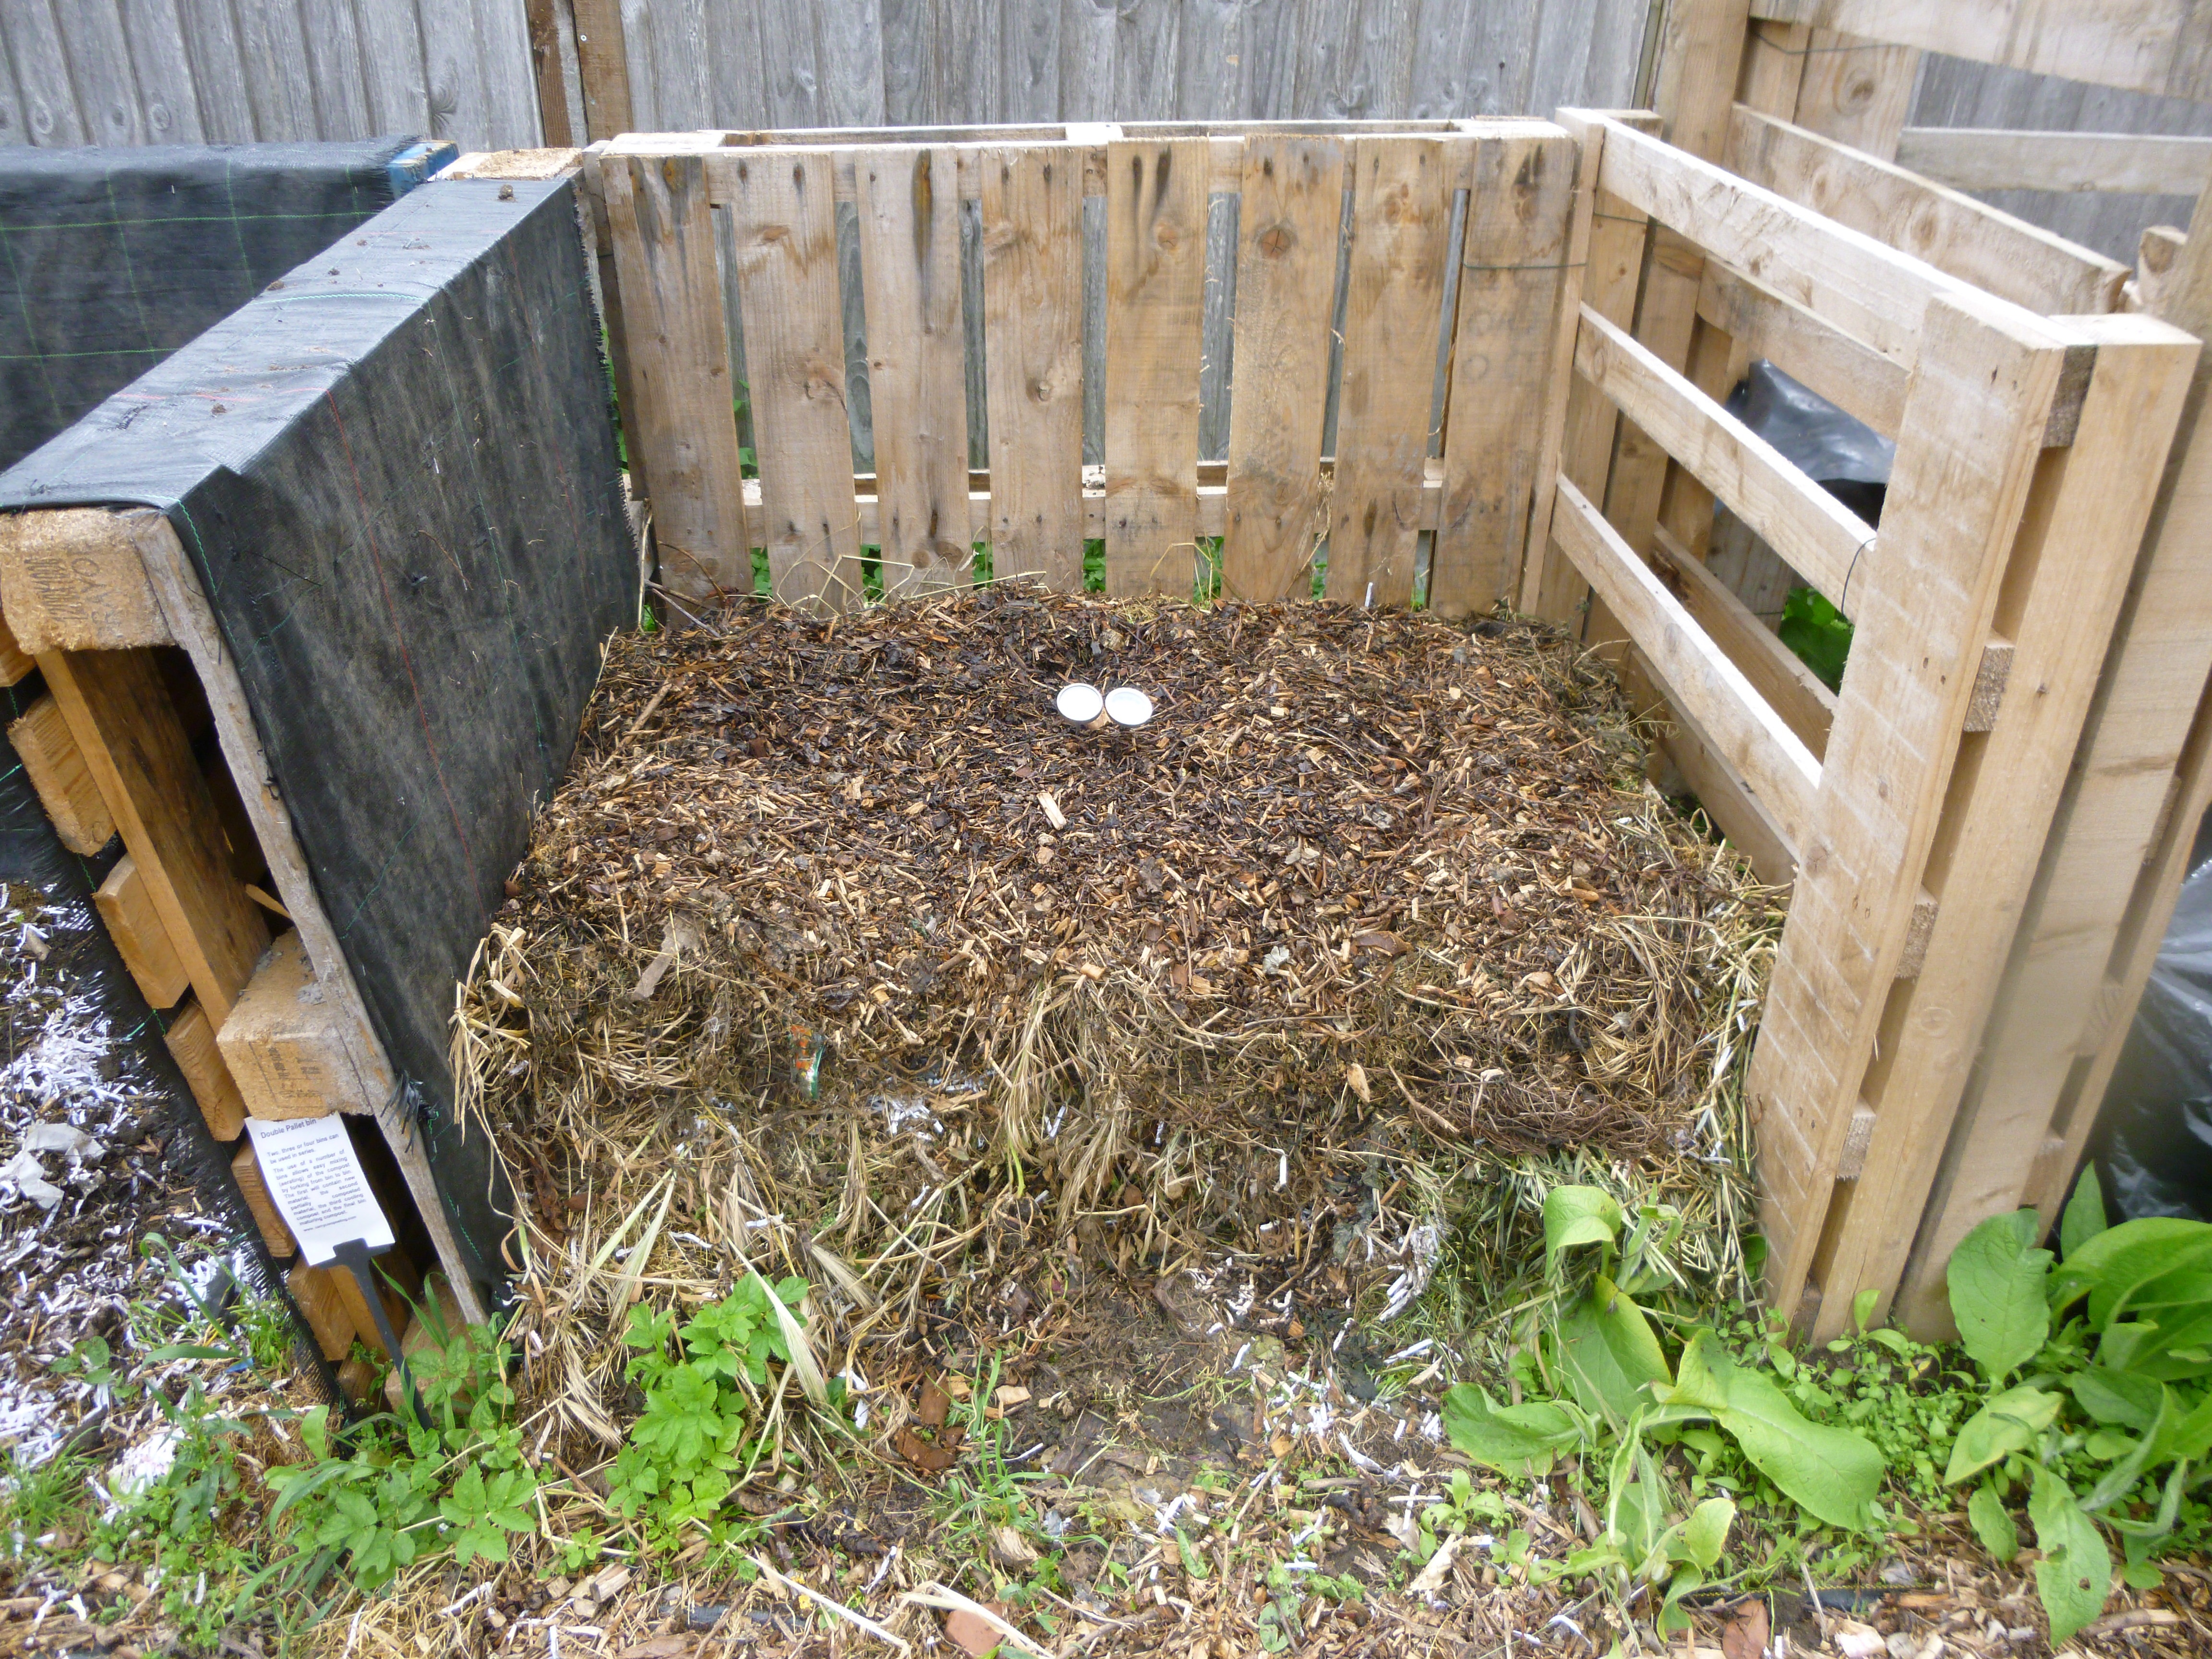
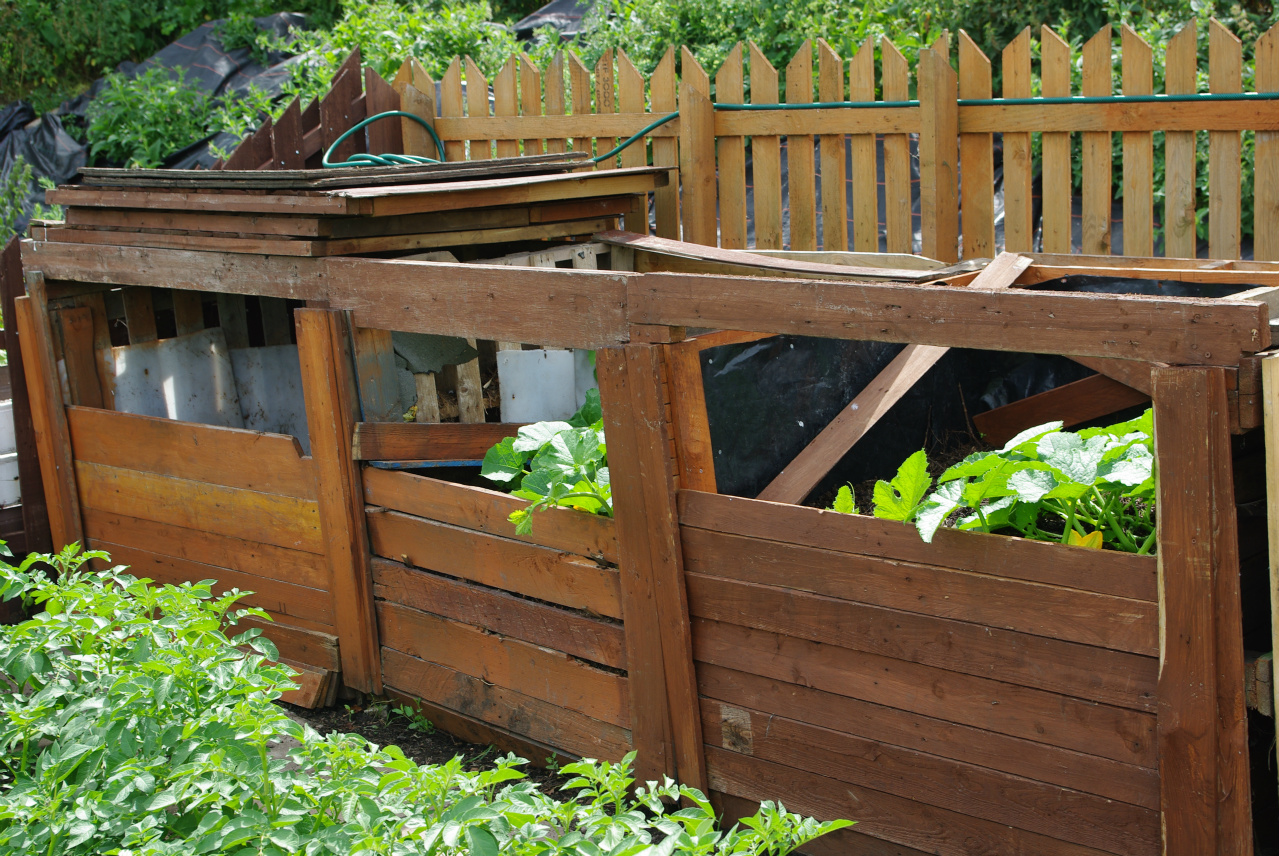
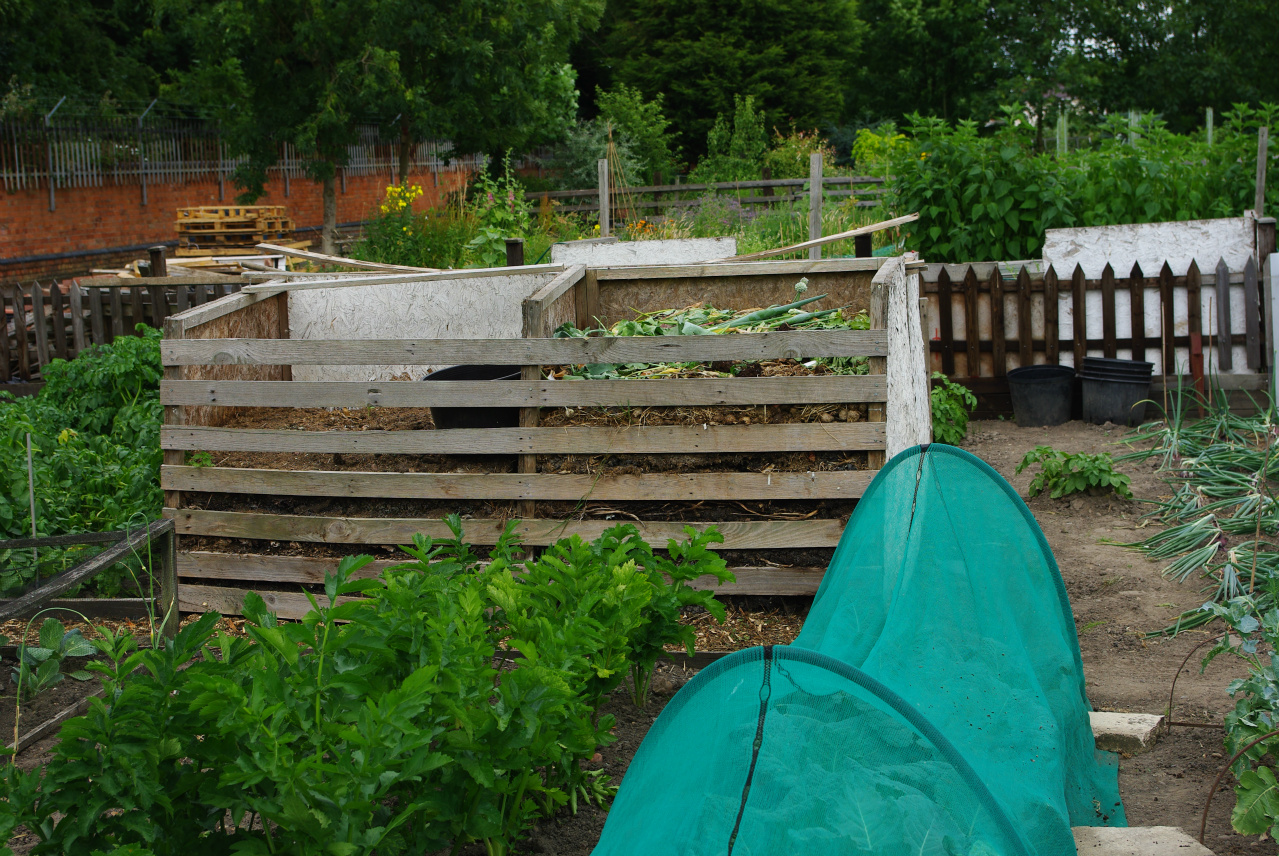
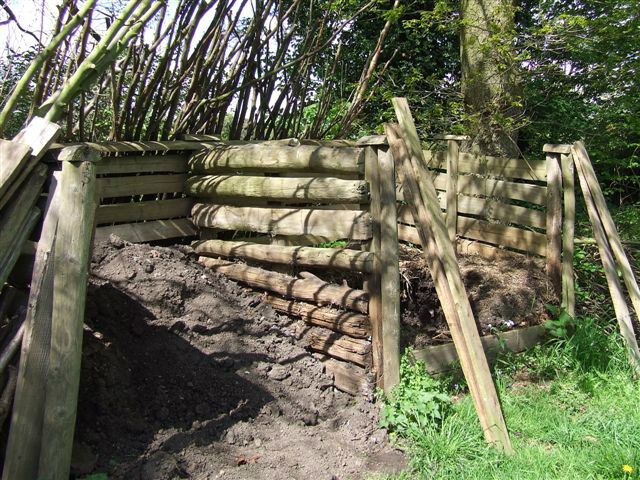
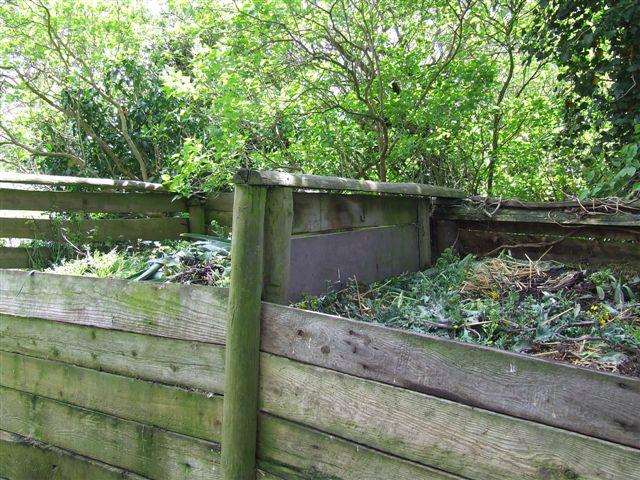
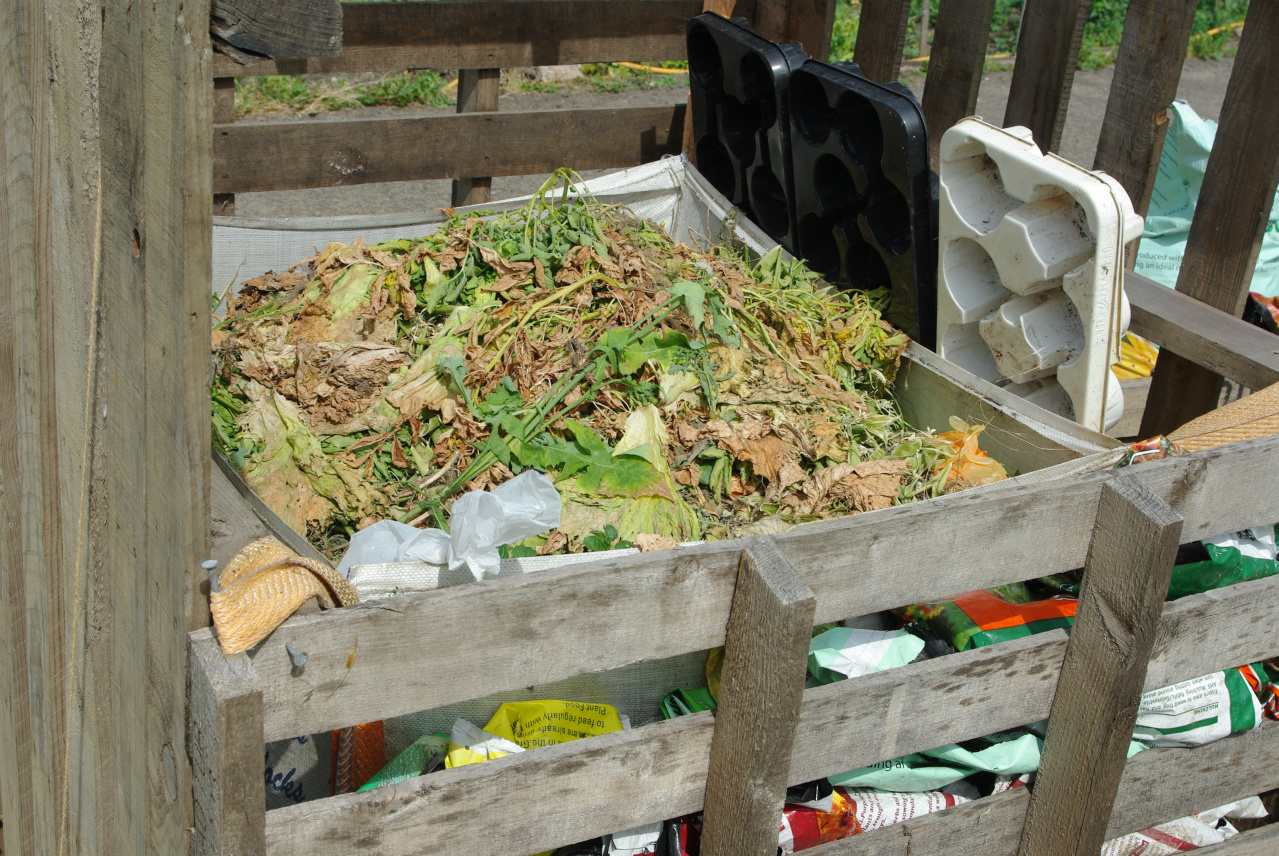
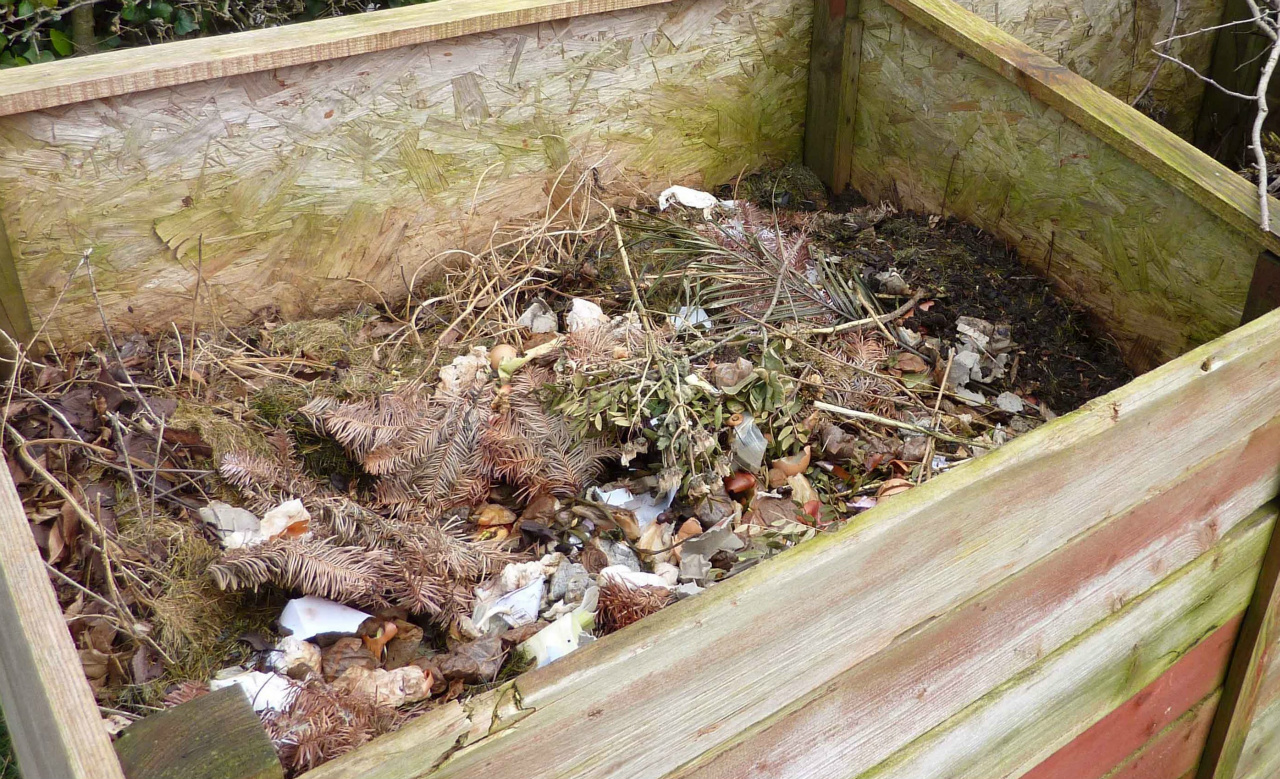
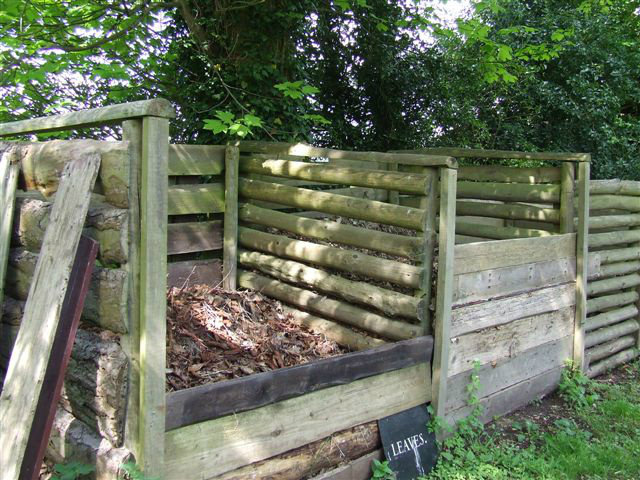
For a full size allotment, two or three New Zealand bins are required Wooden Compost bins. These may be purchased, carefully homemade or just consist of pallets joined together. Pallet compost bins have the advantage of being free and of a good size. Many plotholders will use a bank of three or four bins making turning to aerate the contents easy.
As indicated on the techniques pages the plot-holder will have the choice of using a Cool Bin, which requires relatively little effort but is slow or a Hot Compost technique. This will produce compost in a shorter time but it requires considerable more effort on the part of the Composter. Indeed rapid Hot Composting will produce compost in 21 days if the composter is prepared to chop the materials into one-inch lengths and turn the compost every other day.
To plan your Composting programme check out The Composting Year. It can be quite helpful to plan at least some of your planting to provide a source of green material for the bin through out the year. i.e something for the winter months. If the allotment is surrounded by trees save some of the autumn leaves in the dry to add as "browns" if you are composting during the winter months.
Hot Composting on the allotment
Details of using hot composting techniques are given elsewhere but, in this section, I give details of a low effort hot compost technique suitable for an allotment
As with most Hot Composting techniques this is a batch method in which most or all the whole bin is filled at the same time. The method can be varied to add a couple of layers (see below) at a time as they become available, but this will mean that the compost is produced more slowly.
It is best to use a bank of three bins so that the composting material can be turned (to aerate it) from one bin to another. I like three sided bins as this makes turning easier.
- Save the allotment Brown and green waste materials in separate storage containers e.g. a bucket, cut-away barrel or spare Dalek bin until there is enough to fill the compost bin. This may take a couple of weeks during which time the greens may start to decompose but this does not matter. Do not chop up or shred the materials at this stage or it will hasten decomposition before they are added to the bin. Autumn leaves can be saved in a separately dry container as an additional Brown.
- Normally pallet bins would be used but plastic bins can also be used but are more difficult to turn (aerate).
- Start with a base layer of twigs, stalks of brassicas, sweetcorn, thick flower stalks etc. this will allow air to enter the bin from the base. These will be slow to decompose and may make it difficult to harvest a Dalek bin through the hatch provided so just lift the bin of the compost to harvest it.
- Cut the material to be composted as small as possible i.e 1"-2" to provide the maxiumum surface area. If there is a large amount to compost and little time to look after the heap the material can be left longer but it will decompose more slowly. Add a 200mm layer of the materials from the Greens and Browns storage container to the base layer. Separate layers of Greens and Browns may be added, or they can be mixed as they are added. Mixing will speed the initial heating process but I like to start with tidy layers. Wet this and subsequent layers as they are added.
- A layer of activator such as Comfrey, manure (Chicken manure from the allotment is an excellent activator) can be added. Sulphate of Ammonia was traditionally used. If the allotment does not have a toilet urine diluted 10:1 makes a good liquid activator as does compost tea or comfrey tea
- Add a further layer of composting materials
- A thin dusting of garden lime can be added as the next layer. This is not essential but those who use it do so as the lime is said to help maintain a pH suitable for the microbes and compost worms.
- Repeat the layering of composting materials, activator (and lime if used) until the bin is full.
Cover the full bin with a lid, tarpaulin or plastic sheet to avoid it becoming waterlogged in heavy rain. During the winter months a Compost duvet or layers of bubblewrap can be put under the plastic cover to help insulated the material.
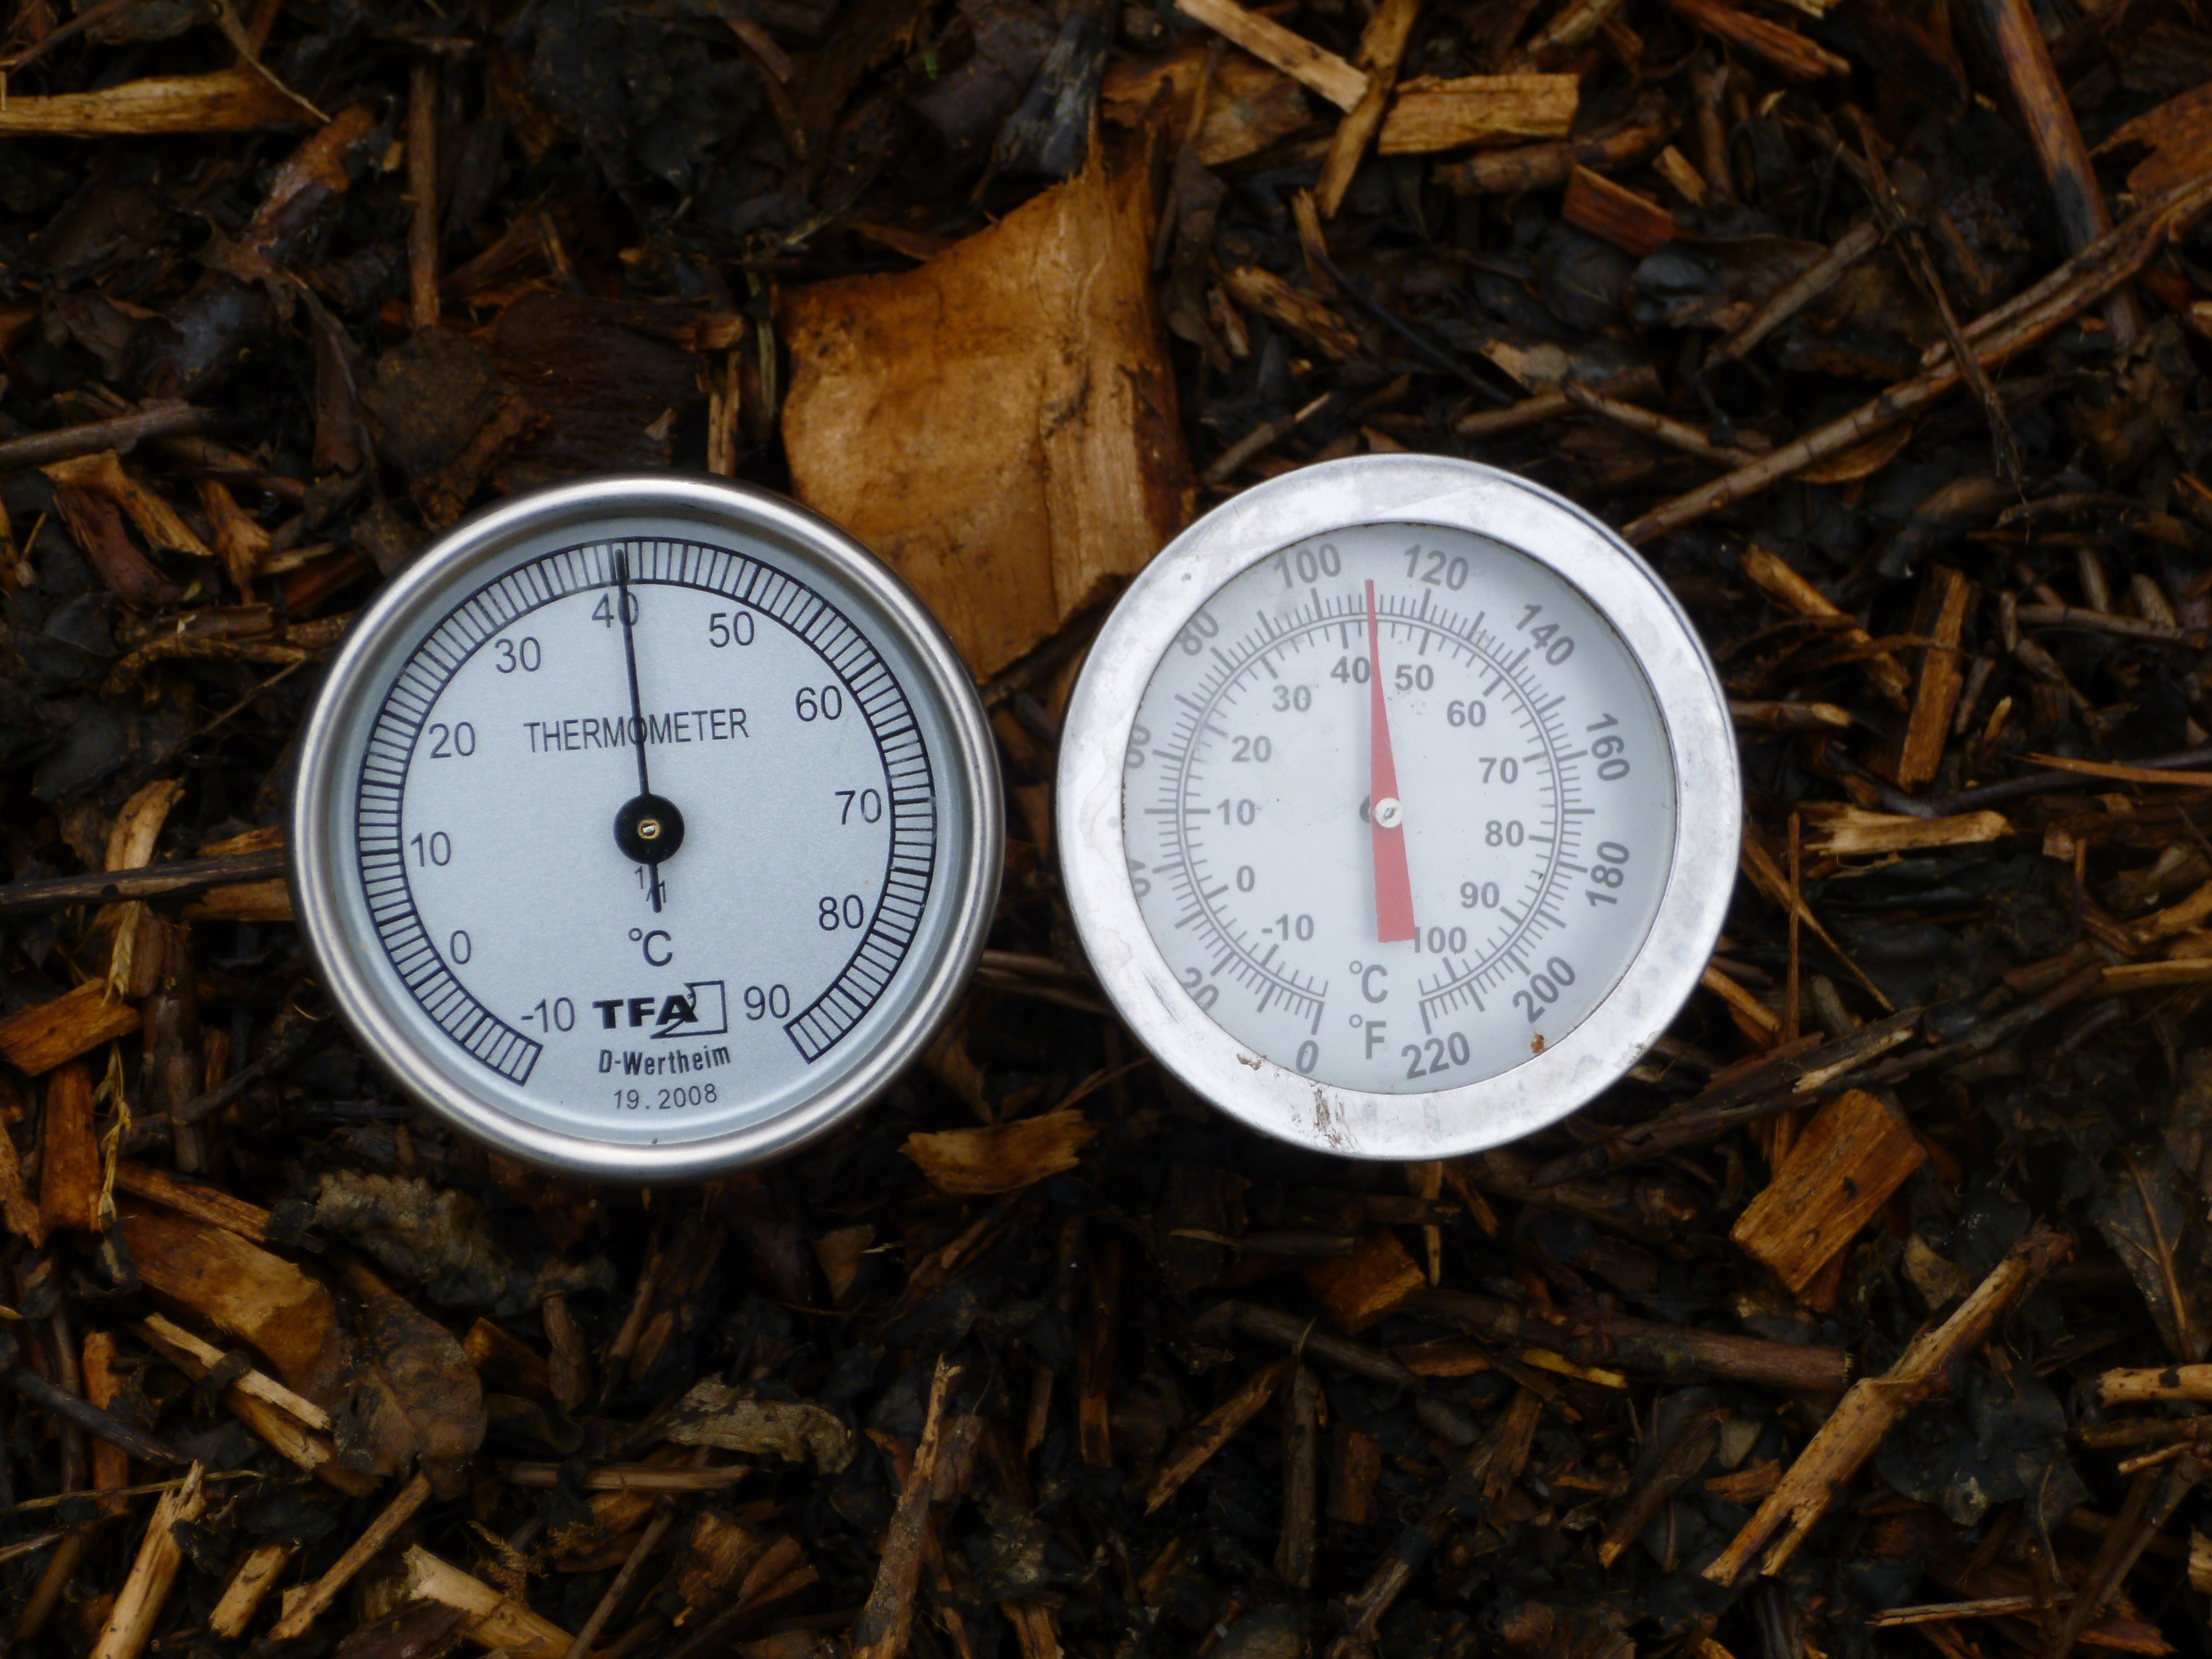
The temperature of the bin will rise over the next few days to 56 -60C . The temperature can be recorded using a low-cost compost thermometer of by pushing a garden fork into the middle of the heap leaving it overnight and feeling the temperature of the prongs when it is removed.
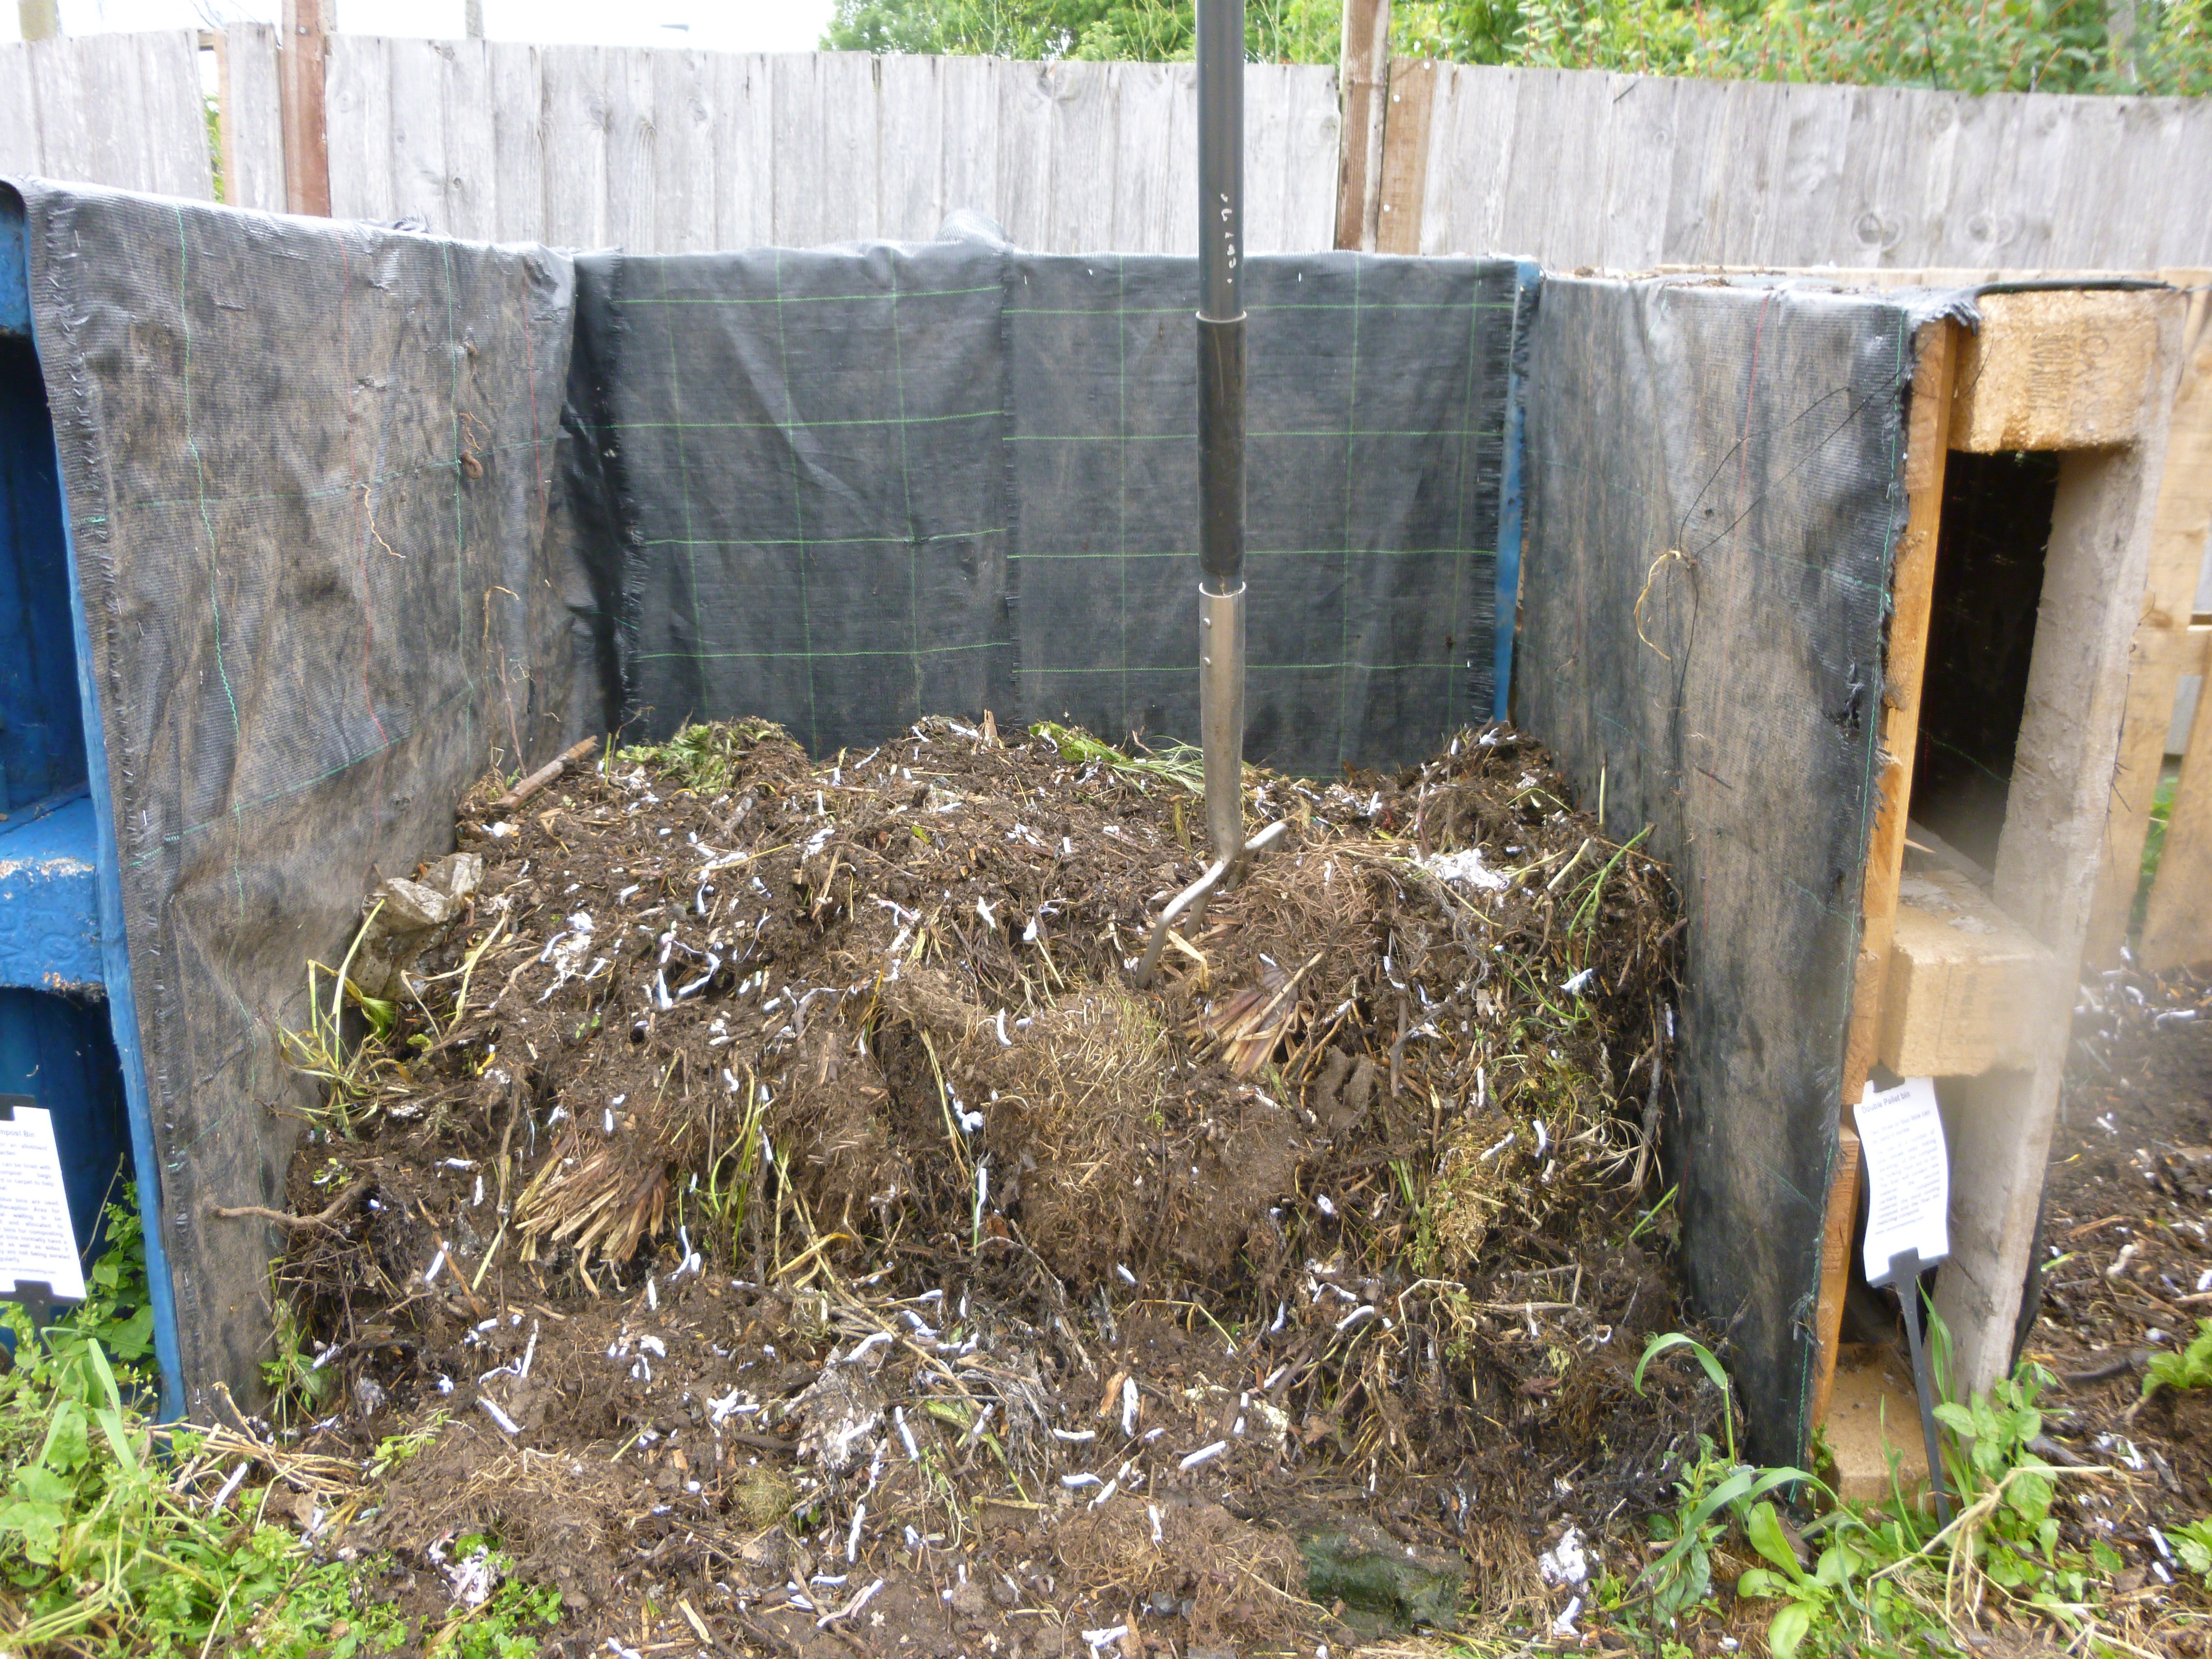
Turn the heap into a second bin when the temperature starts to fall. When mixing the material should be turned so that material on the outside of the bin forms the new central core and the material from the centre forms the outside. Water the material if it appears dry and cover the bin as before.
Monitor and repeat the turning process when the temperature falls.
Finished Compost
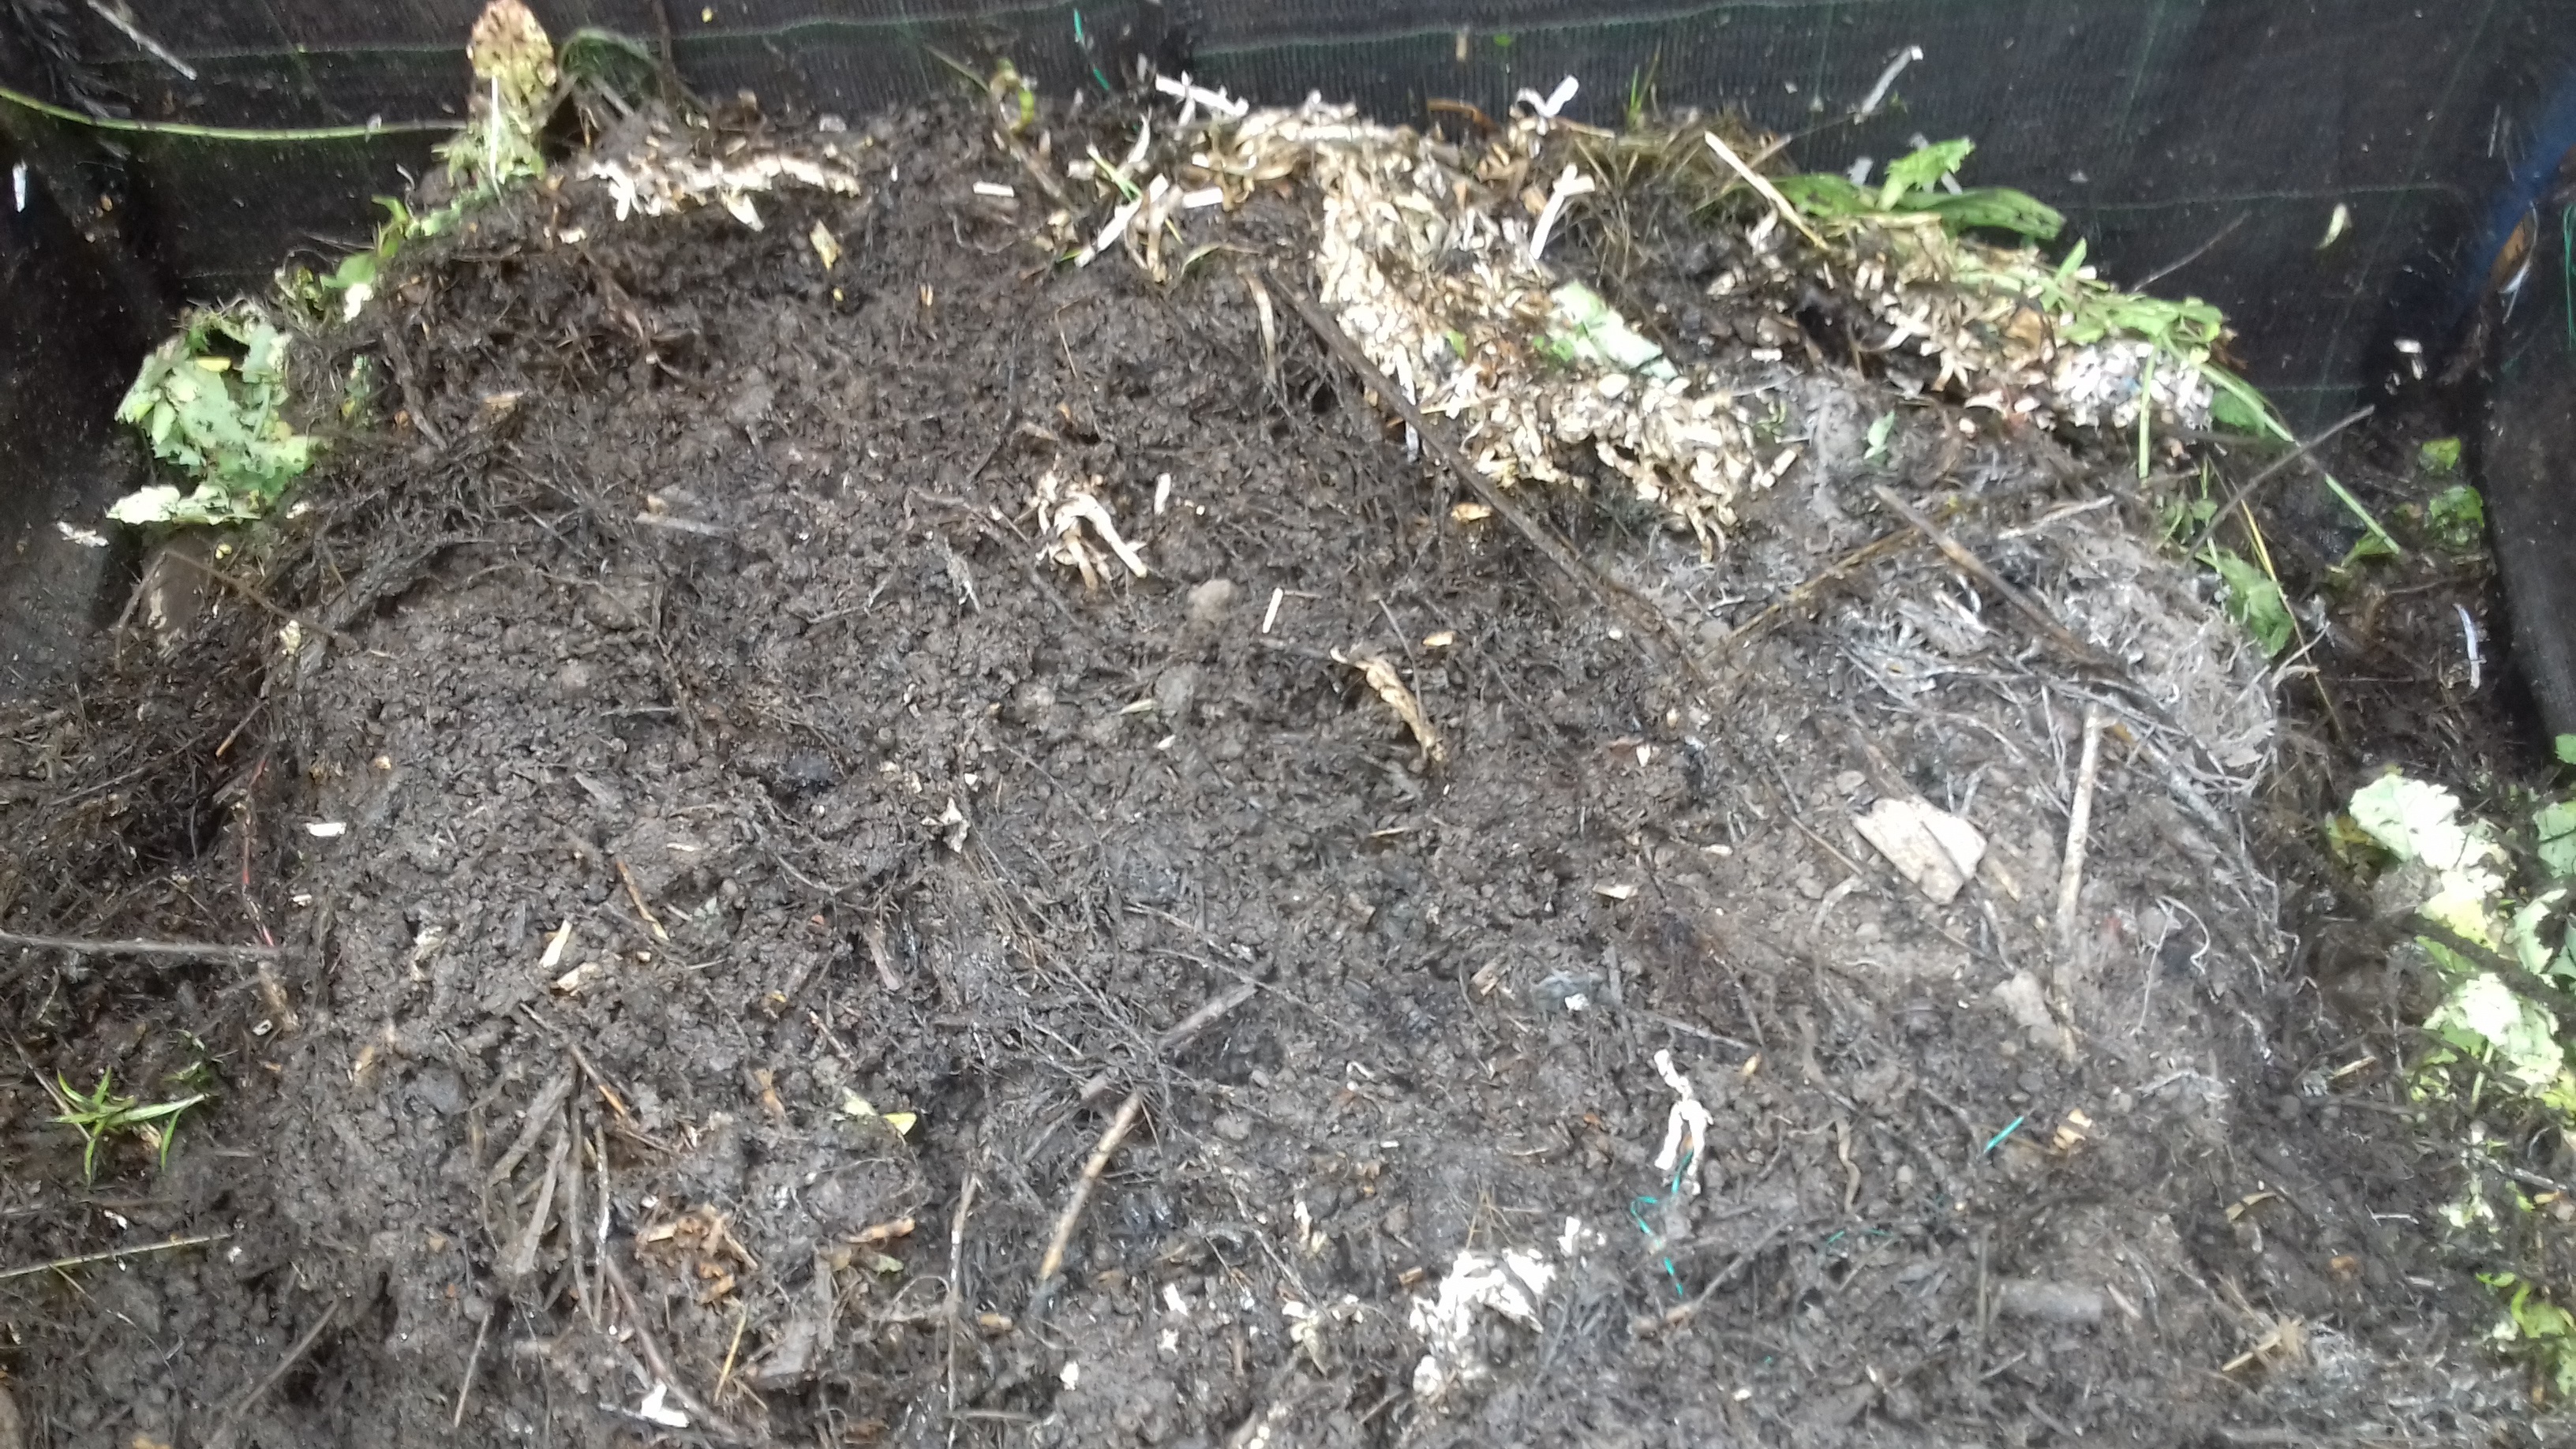
Once the heap has cooled down the material is finished and should be covered and left to mature.
Allotment Composting leaflet
This leaflet giving an introduction to composting on the allotment may be downloaded and given to allolment society members under the logo of the the allotment society
Mike Spencer
Would you like to do a composting demo at our Open Allotment Day on Sunday 25th Sept. We are the Grove Avenue Allotments in Chilwell, Nottingham.